
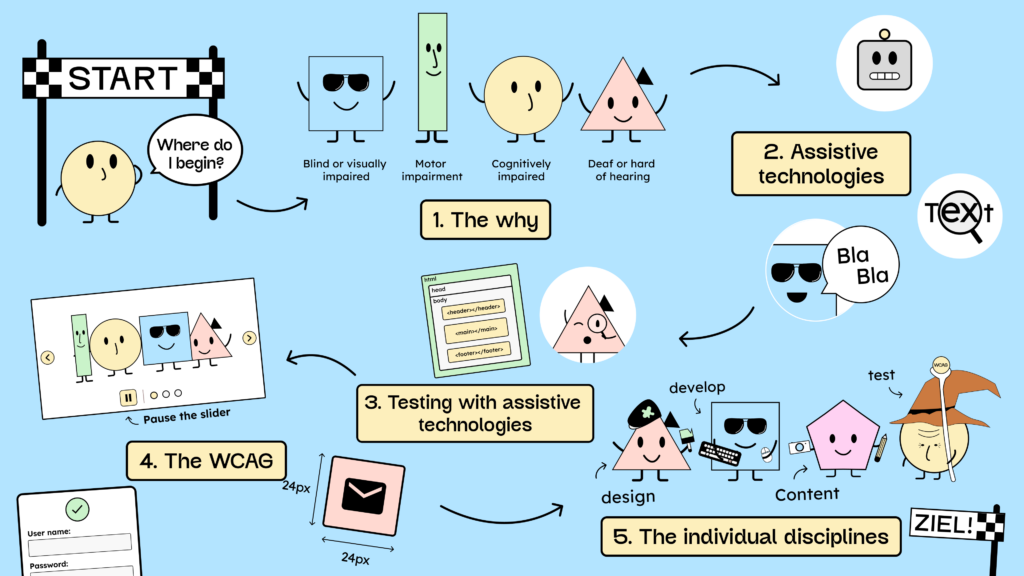
Stage 1: Understanding the Why Behind It
Do you know that feeling when your co-founder always asks: “But why should I tidy my desk?”
A farce, I tell you… But we humans want to understand why we have to do things: Why is it important, and what’s in it for me?
Having a good rationale for our actions helps motivate us to act. Therefore, the first step in digital accessibility is understanding the benefits!
Once you see how people with disabilities use websites, your motivation to advocate for this issue will increase. When you understand the barriers they face and how challenging it is for them, you can’t help but want to remove those barriers!
After our workshops, participants often remember how cumbersome and tiring it is to use the internet with assistive technologies, such as a screen reader. And that something could actually be done about it quite easily, for example, by writing clean HTML.
To understand the “why” a little better and develop more empathy, you can start with the following videos:
- Screen reader demo on YouTube
- Speech Recognition Software Demo Video
- Screen Magnifier Demonstration
- Web Accessibility Perspectives of the W3C
PS: If you know a good reason to tidy your desk, I’d be grateful for your arguments!
Stage 2: Getting to Know Assistive Technologies
One of the main tasks in digital accessibility is to make websites and software accessible to assistive technologies.
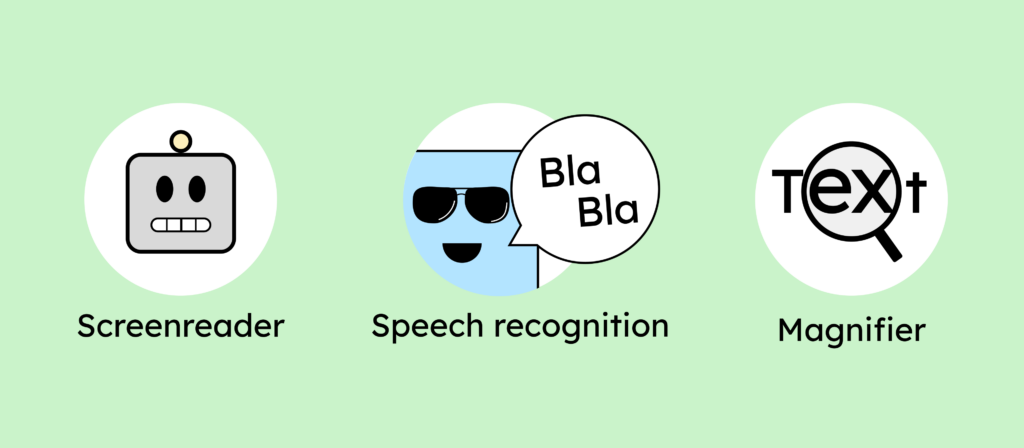
Three important assistive technologies for the web are:
- The screen reader
- The speech recognition software
- The screen magnifier
Being able to handle these assistive technologies is the basis for testing and evaluating websites for accessibility.
Therefore, I will give a tiny overview of each technology here, along with links to further resources.
An overview of screen readers
- The screen reader helps people to use a keyboard to navigate a website and to access content they cannot see.
- The screen reader is used especially by blind and visually impaired people.
- The screen reader can read the content of a website or app aloud or forward it to a Braille display.
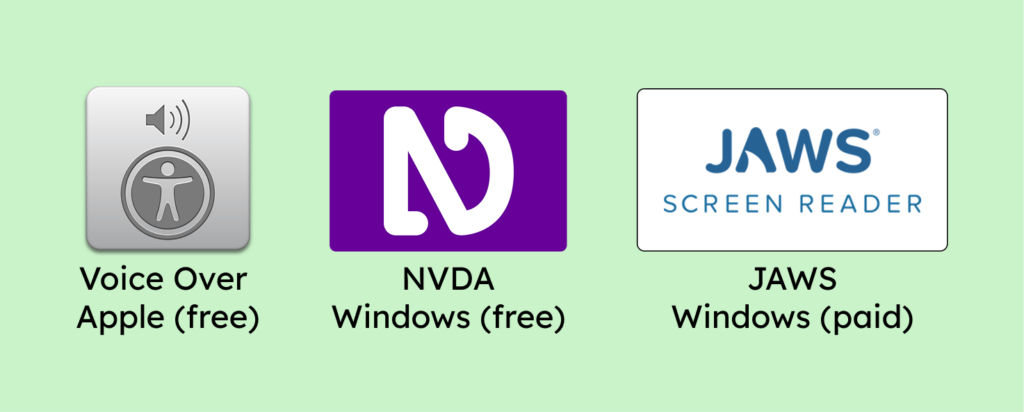
- All Apple devices come with a preinstalled screen reader called VoiceOver.
- For Windows, there is NVDA (free) and JAWS (paid).
- Caution: Different screen readers may produce different results with different browsers.
- A screen reader can only interpret a website in one dimension. This means it can only access one element at a time. Therefore, it is crucial to pay close attention to the reading and tab order when designing a website or app.
Further links:
- VoiceOver Guide for Mac
- VoiceOver Test Guide
- Preparing your PC to test with screen readers
- Important keyboard shortcuts for screen readers
Speech recognition software
- The PC is used with voice commands
- Speech recognition software is trained on one person (the system learns voice/pronunciation)
- Entire texts can be entered by dictation.
- Operable elements can be controlled, for example, by speaking the label.
- “Dragon Naturally Speaking” is the most common program (paid).
Further links:
Zoom
- There are several ways to zoom:
- Settings in the Control Panel
- Browser zoom
- Special browser settings
- Special software such as screen magnifiers (apps)
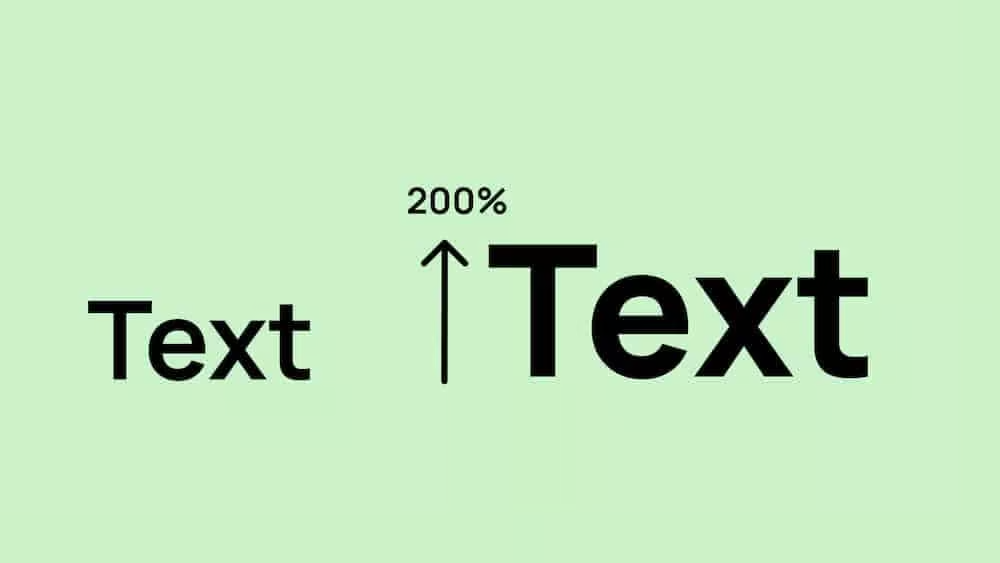
- According to WCAG, text must be zoomable to 200% without any part of the text being covered or requiring scrolling in two dimensions (horizontal and vertical).
- The magnification software magnifies – greatly! Users sometimes only see a very minimal section, sometimes only parts of a word.
- Users’ browser settings should be supported. If someone changes the text size in their browser, your website must respect that. (This only works if your font is specified as an em or rem unit, not as pixels.)
- Hovering is a major problem. At high zoom levels, the mouse cursor can’t always stay over the element that triggers the hover. Therefore, hover functions need an alternative that can be triggered by clicking.
Further links:
Stage 3: Learning to test with assistive technologies – keyboard, screen reader & Zoom
Now you have a good theoretical understanding of what assistive technologies are and how to use them. Now it gets more fun – you’ll learn how to test them out in practice!
Keyboard tests
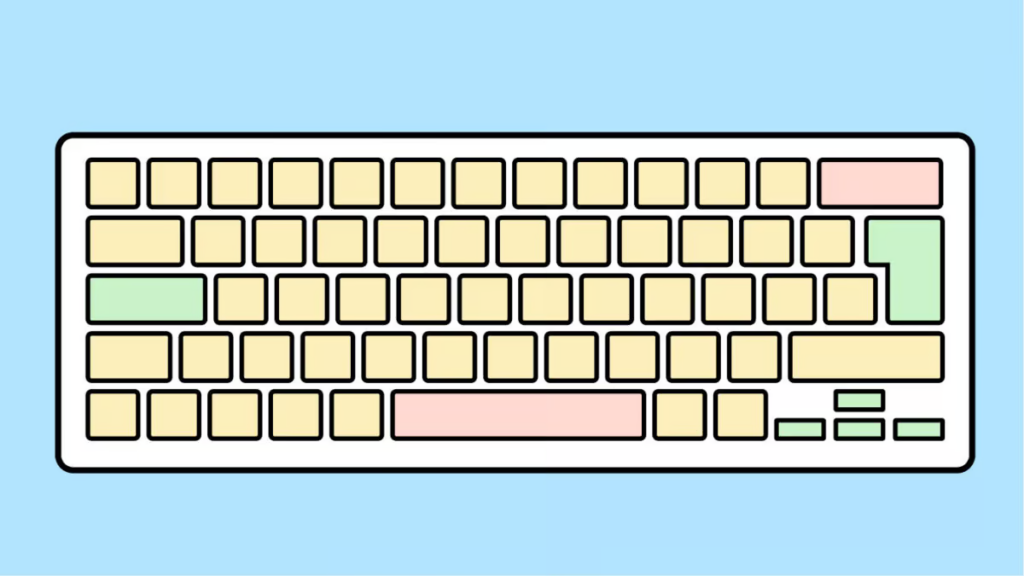
In our experience, there is a very clear signal that immediately shows whether the creators of a website are familiar with accessibility: a focus frame!
When you’re on a website and press the Tab key on your keyboard, you should be able to navigate from one element to another. A focus frame should be visible around the elements. The following example image shows you what it should look like. If you don’t see the frame after selecting something with the Tab key, then there is no keyboard focus on the page.
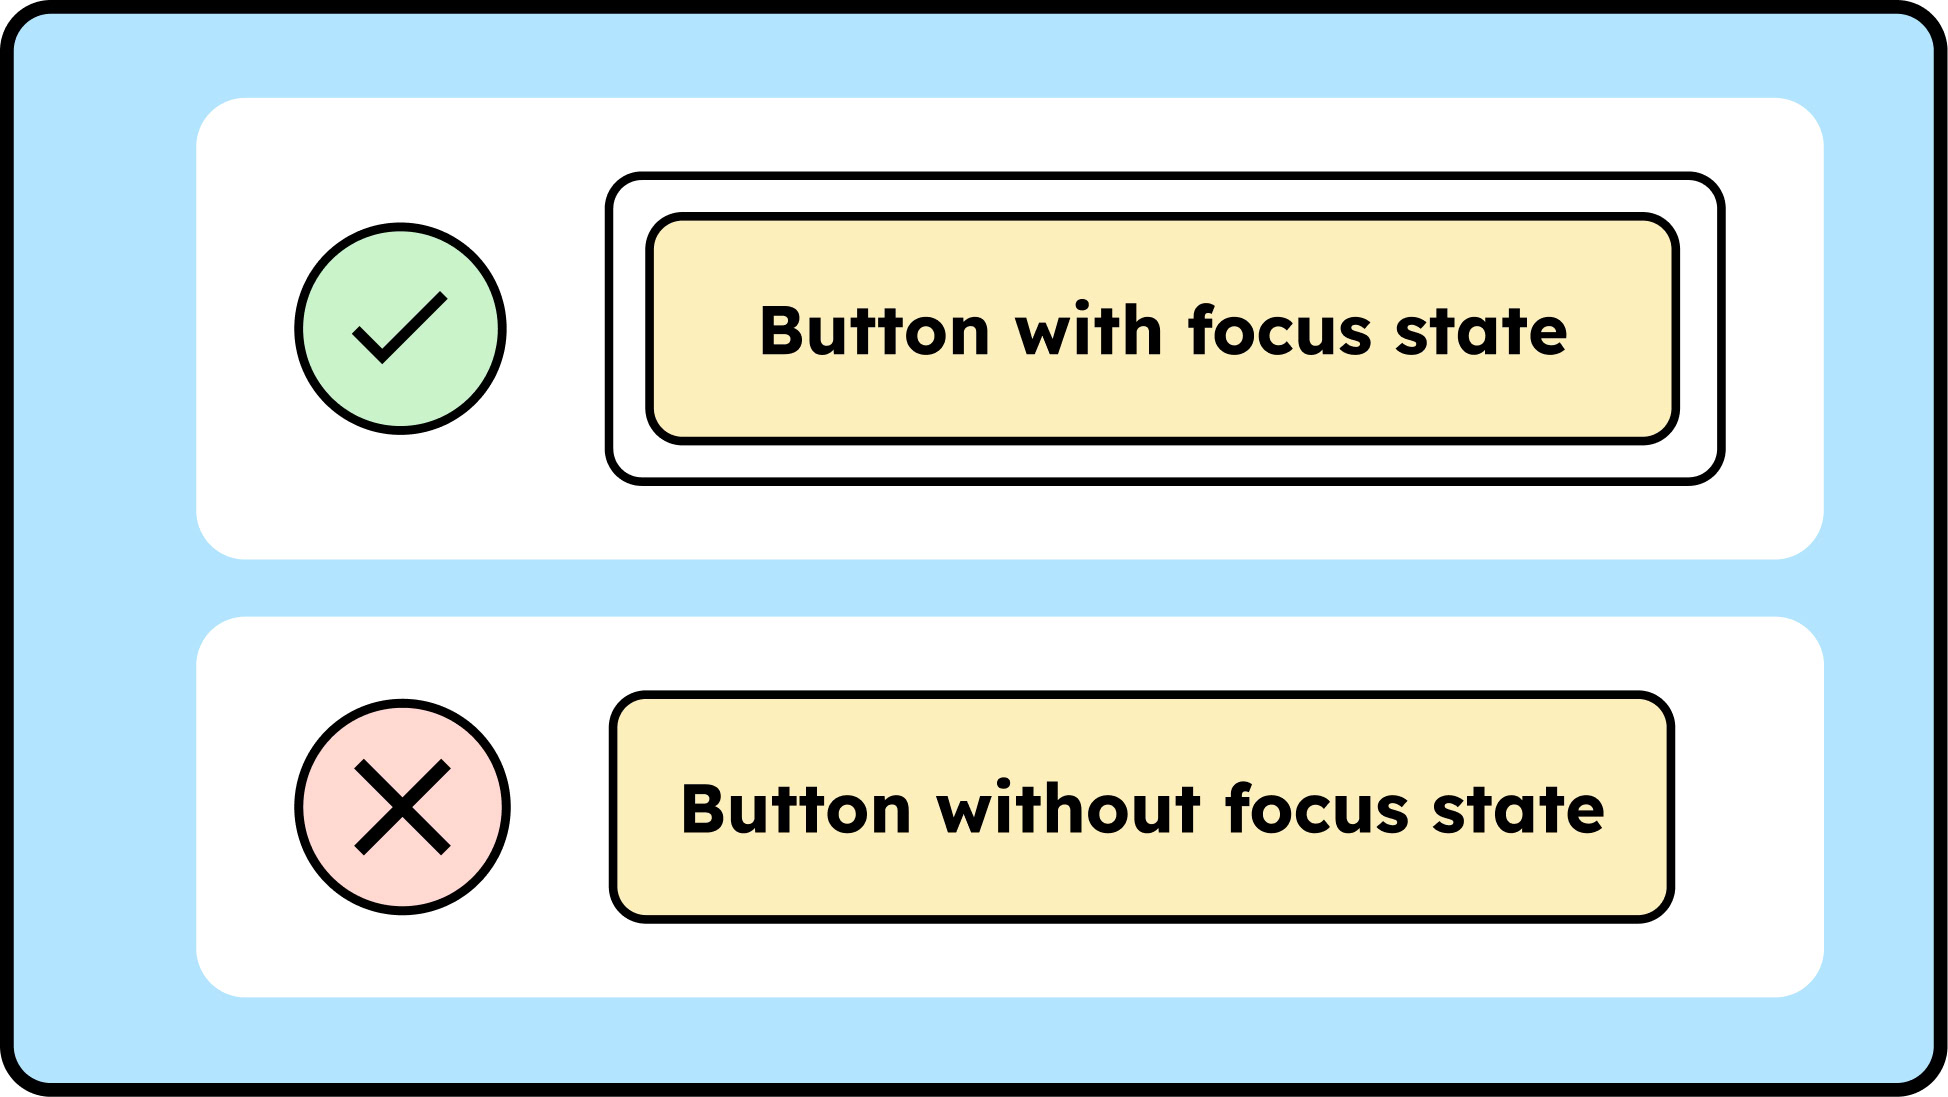
That’s a 98.99% indication that no one has bothered about accessibility here. You can be almost certain that many changes would be needed to make the site accessible.
Now you know one of the best tricks to unmask a website that isn’t accessible. Of course, there’s more to it than just pressing the tab key once. I’ve listed some other things you can look out for here (even without knowing the WCAG criteria).
How to test using the keyboard:
- Reload your page
- Press the Tab key
- Can you navigate your page using the Tab key?
- Do you see a clear focus frame around the objects, so you always know where you are?
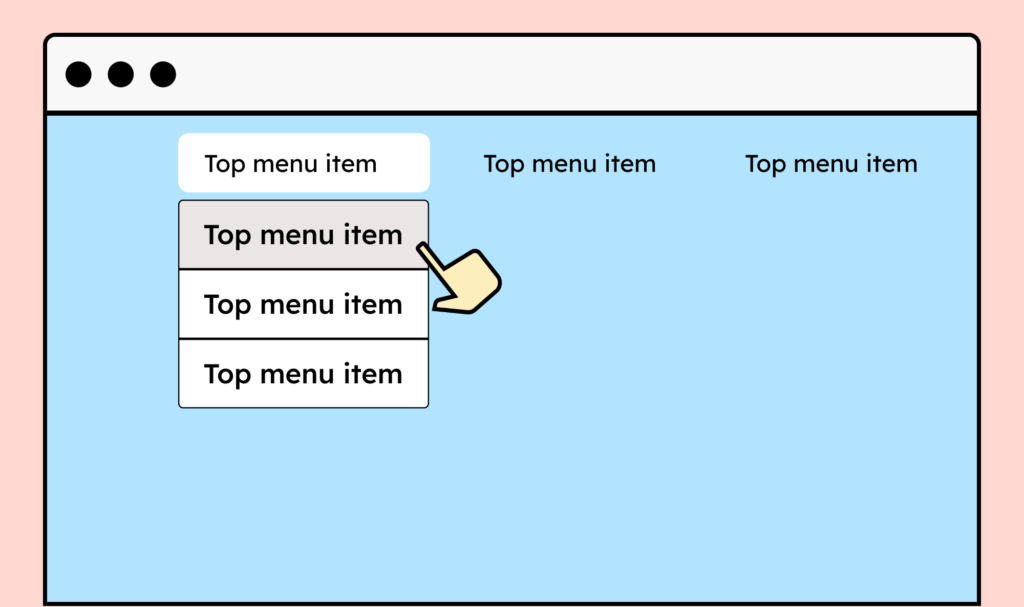
- Can you access the navigation using the Tab key?
- Can you open submenus with Enter?
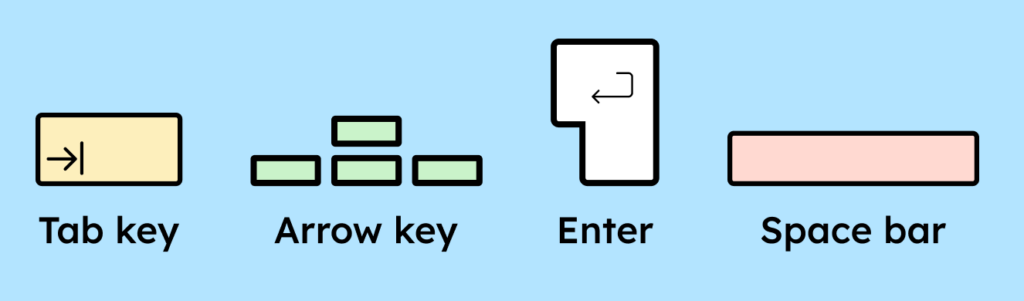
- Can you fill out a form using only the Tab, Enter, and Space keys?
- Can you select a radio button using the spacebar?
- And so on
We want to find out whether all website functions can be operated with the keyboard. According to WCAG, a website must be fully keyboard-accessible. This means, among other things, that there must be no functions that only work on hover (for example, opening a submenu).
Tests with the screen reader
After you’ve experimented a bit with the keyboard, let’s go one step further: We’ll turn on the screen reader!
Are you using an Apple computer? Then press CMD+F5, and the screen reader! (Pro tip: Use the same key combination to turn it off again.)
As soon as you turn on the screen reader, it will read aloud everything it can touch. By touch, I mean the Tab or arrow keys. With the basic keyboard navigation, you may have noticed that you can only control interactive elements, but not images or text. The screen reader now allows you to do this by also using the arrow keys to navigate the page.
You’ll also notice that the screen reader reads out additional information about each element. This is especially helpful for blind people, making it easier to understand which element they are viewing and what that element does. It clarifies whether it’s a heading, an image, or a control. And if it’s a control, the screen reader will also tell you its current state (e.g., the dropdown menu is open). If you’re interested in learning more, we’ll delve deeper into what exactly happens in the following article: [link to article about the Accessibility Tree]
In addition to the Tab and arrow keys, it’s also useful to use the Enter and Space keys when browsing a website. These allow you to activate interactive elements – radio buttons with the Spacebar and regular buttons with Enter, for example.
These keys really only cover the basics of a screen reader. People who don’t navigate visually use a whole range of shortcuts to jump from heading to heading, generate a list of links, and so on.
One final tip: If you want to make your screen reader experience as immersive as possible, close your eyes and navigate a website that way. I promise you that your desire to build better websites will increase tenfold.
Zoom Tests
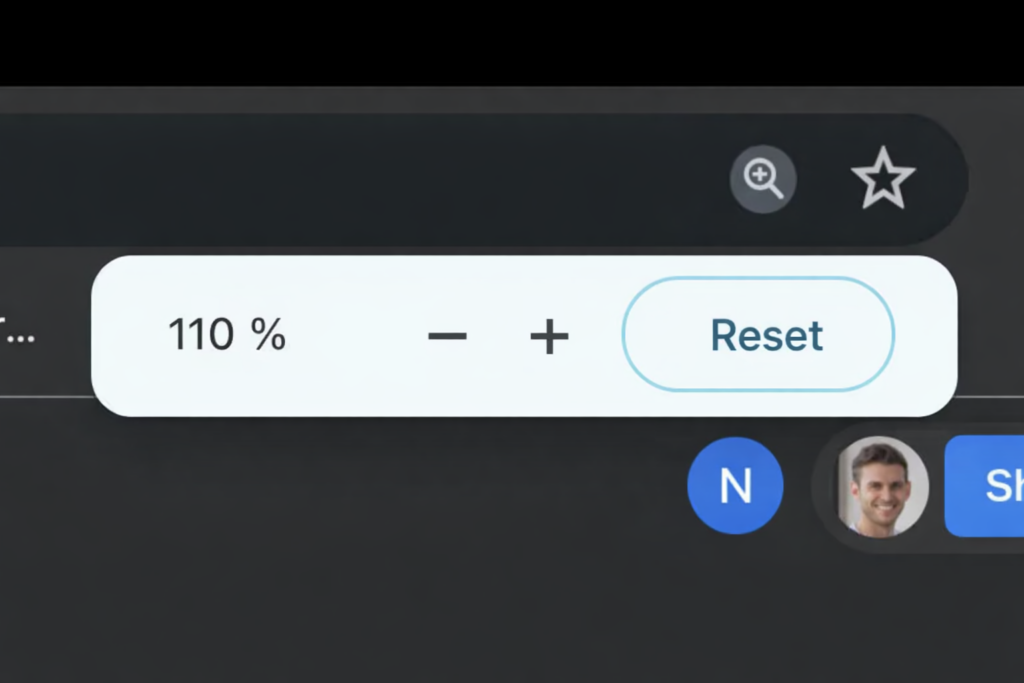
As mentioned above, there are different types of Zoom. However, here we will limit ourselves to testing the browser’s zoom functionality. To test your website with it, press CMD and the plus sign (on a Mac).
Zoom your browser to 200%.
This tiny test can already reveal some problems with digital accessibility on many websites:
- Text is covered up.
- Elements are no longer selectable.
- A vertical and horizontal scrollbar appears around text (forbidden according to WCAG)
Stage 4: Understanding the WCAG
Now that you have an understanding of different disabilities and assistive technologies, let’s look at the (legal) requirements regarding digital accessibility.
To achieve this, you should first familiarize yourself with the Web Content Accessibility Guidelines (WCAG). You can read more about what WCAG is and why it’s important here: Accessibility Portal article about WCAG
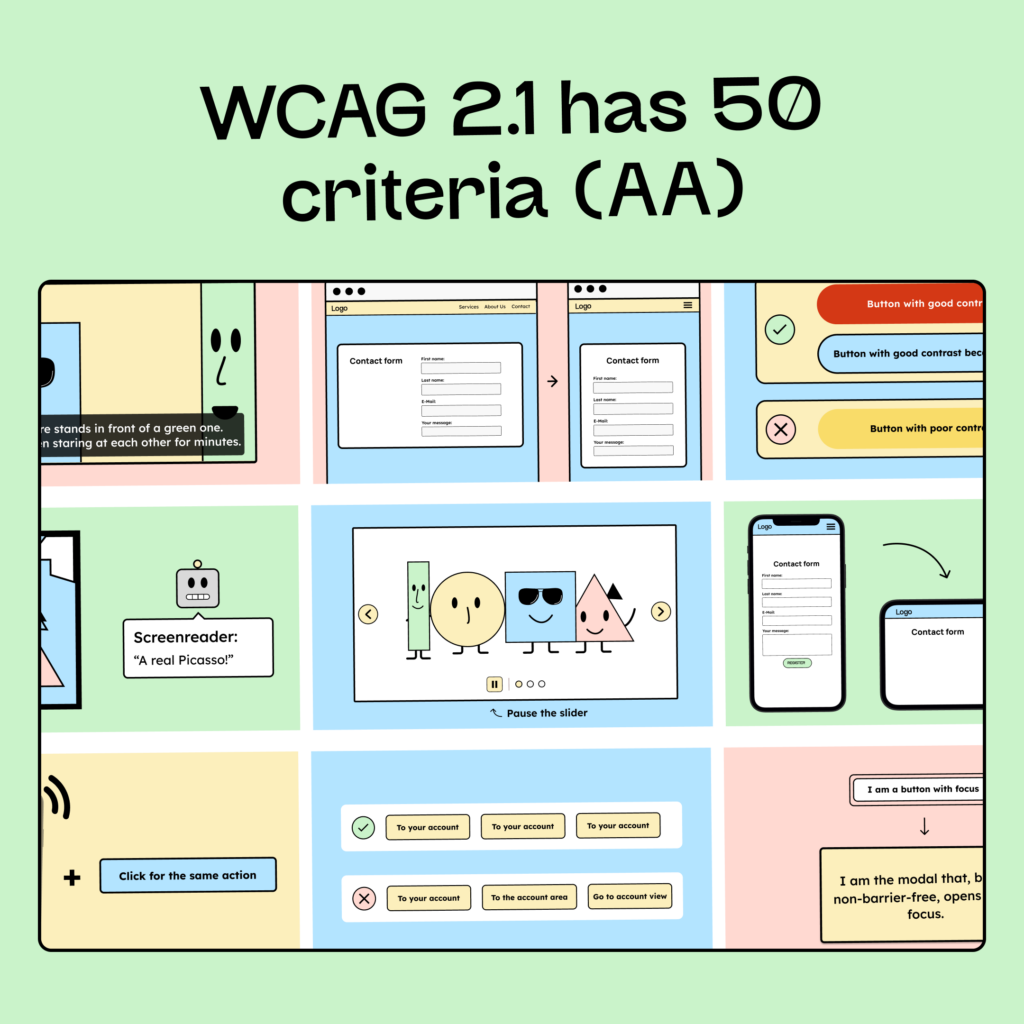
The WCAG can be quite overwhelming at first, so we have compiled the criteria in a simple, understandable way at the following link: An overview of the WCAG criteria.
We have also written an article to help you get a better start with WCAG: Tips to understand WCAG better.

PS: If you want to learn more about the legal situation, we also have an article about the EN standard: To the article about EN 301 549: What applies to you from 2025.
Stage 5: Learning the individual disciplines
We’ve reached the final stage: How do we actually implement these requirements? To do this, we’ll look at the individual disciplines in detail, starting with design, then development, and finally content creation.
Accessibility in Design
We start with the design, because if we make a brand or our UI design accessible, developers save themselves a lot of time and headaches
We have published a whole list of articles on accessibility in design that will give you a good starting point:
- Accessible Design: The Basics
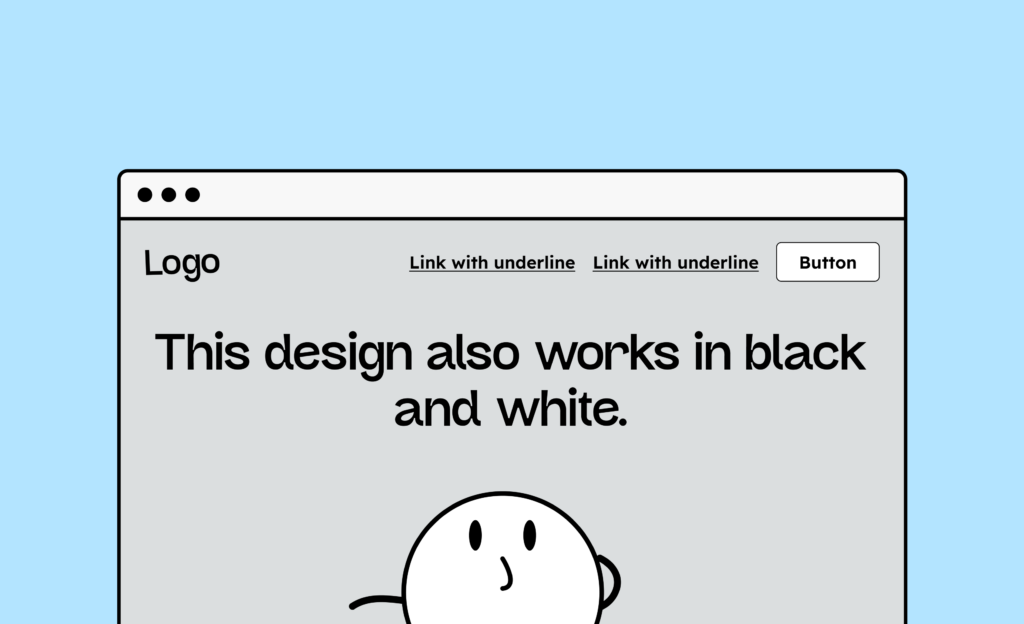
- How to choose accessible colors
- Accessible icons, a guide
- Choose the right, accessible font
- Accessible animations: Is that allowed?
For those seeking practical experience or needing answers to detailed questions, we offer both a workshop and an online course on accessibility in design:
Developing Accessible Design

Once the design is finalized, it must be implemented. Implementation can be challenging, depending on the requirements:
- Do you want to create a simple WordPress website?
- Do you want a complex website with completely self-built components?
- Do you want a native app?
Regardless of what you want to achieve, it is helpful first to understand the principles behind accessible development:
- Understanding the Accessibility Tree
- Accessible web design – the right HTML structure
- WAI-ARIA Overview
- Accessible Font Units – Make your texts scalable
- Creating accessible cards – step-by-step instructions
You can find much more detail on the following recommended blogs:
- Blog about accessible development by Sara Soueidan
- Blog about accessible development by Manuel Matuzović
And those who are specifically concerned with accessibility with WordPress can look around here:
- Accessibility of WordPress themes and page builders
- Creating accessible WordPress websites
- Creating accessible blog posts with WordPress
- The best accessible plugins for WordPress
Creating Accessible Content
The basic structure of your website should now be in place. However, this structure also needs to be filled with content. There are several things to consider when it comes to text, images, and videos
Here you will find another list of articles to get you started:
- Digital accessibility for content creators – an overview
- Everything you want to know about plain language!
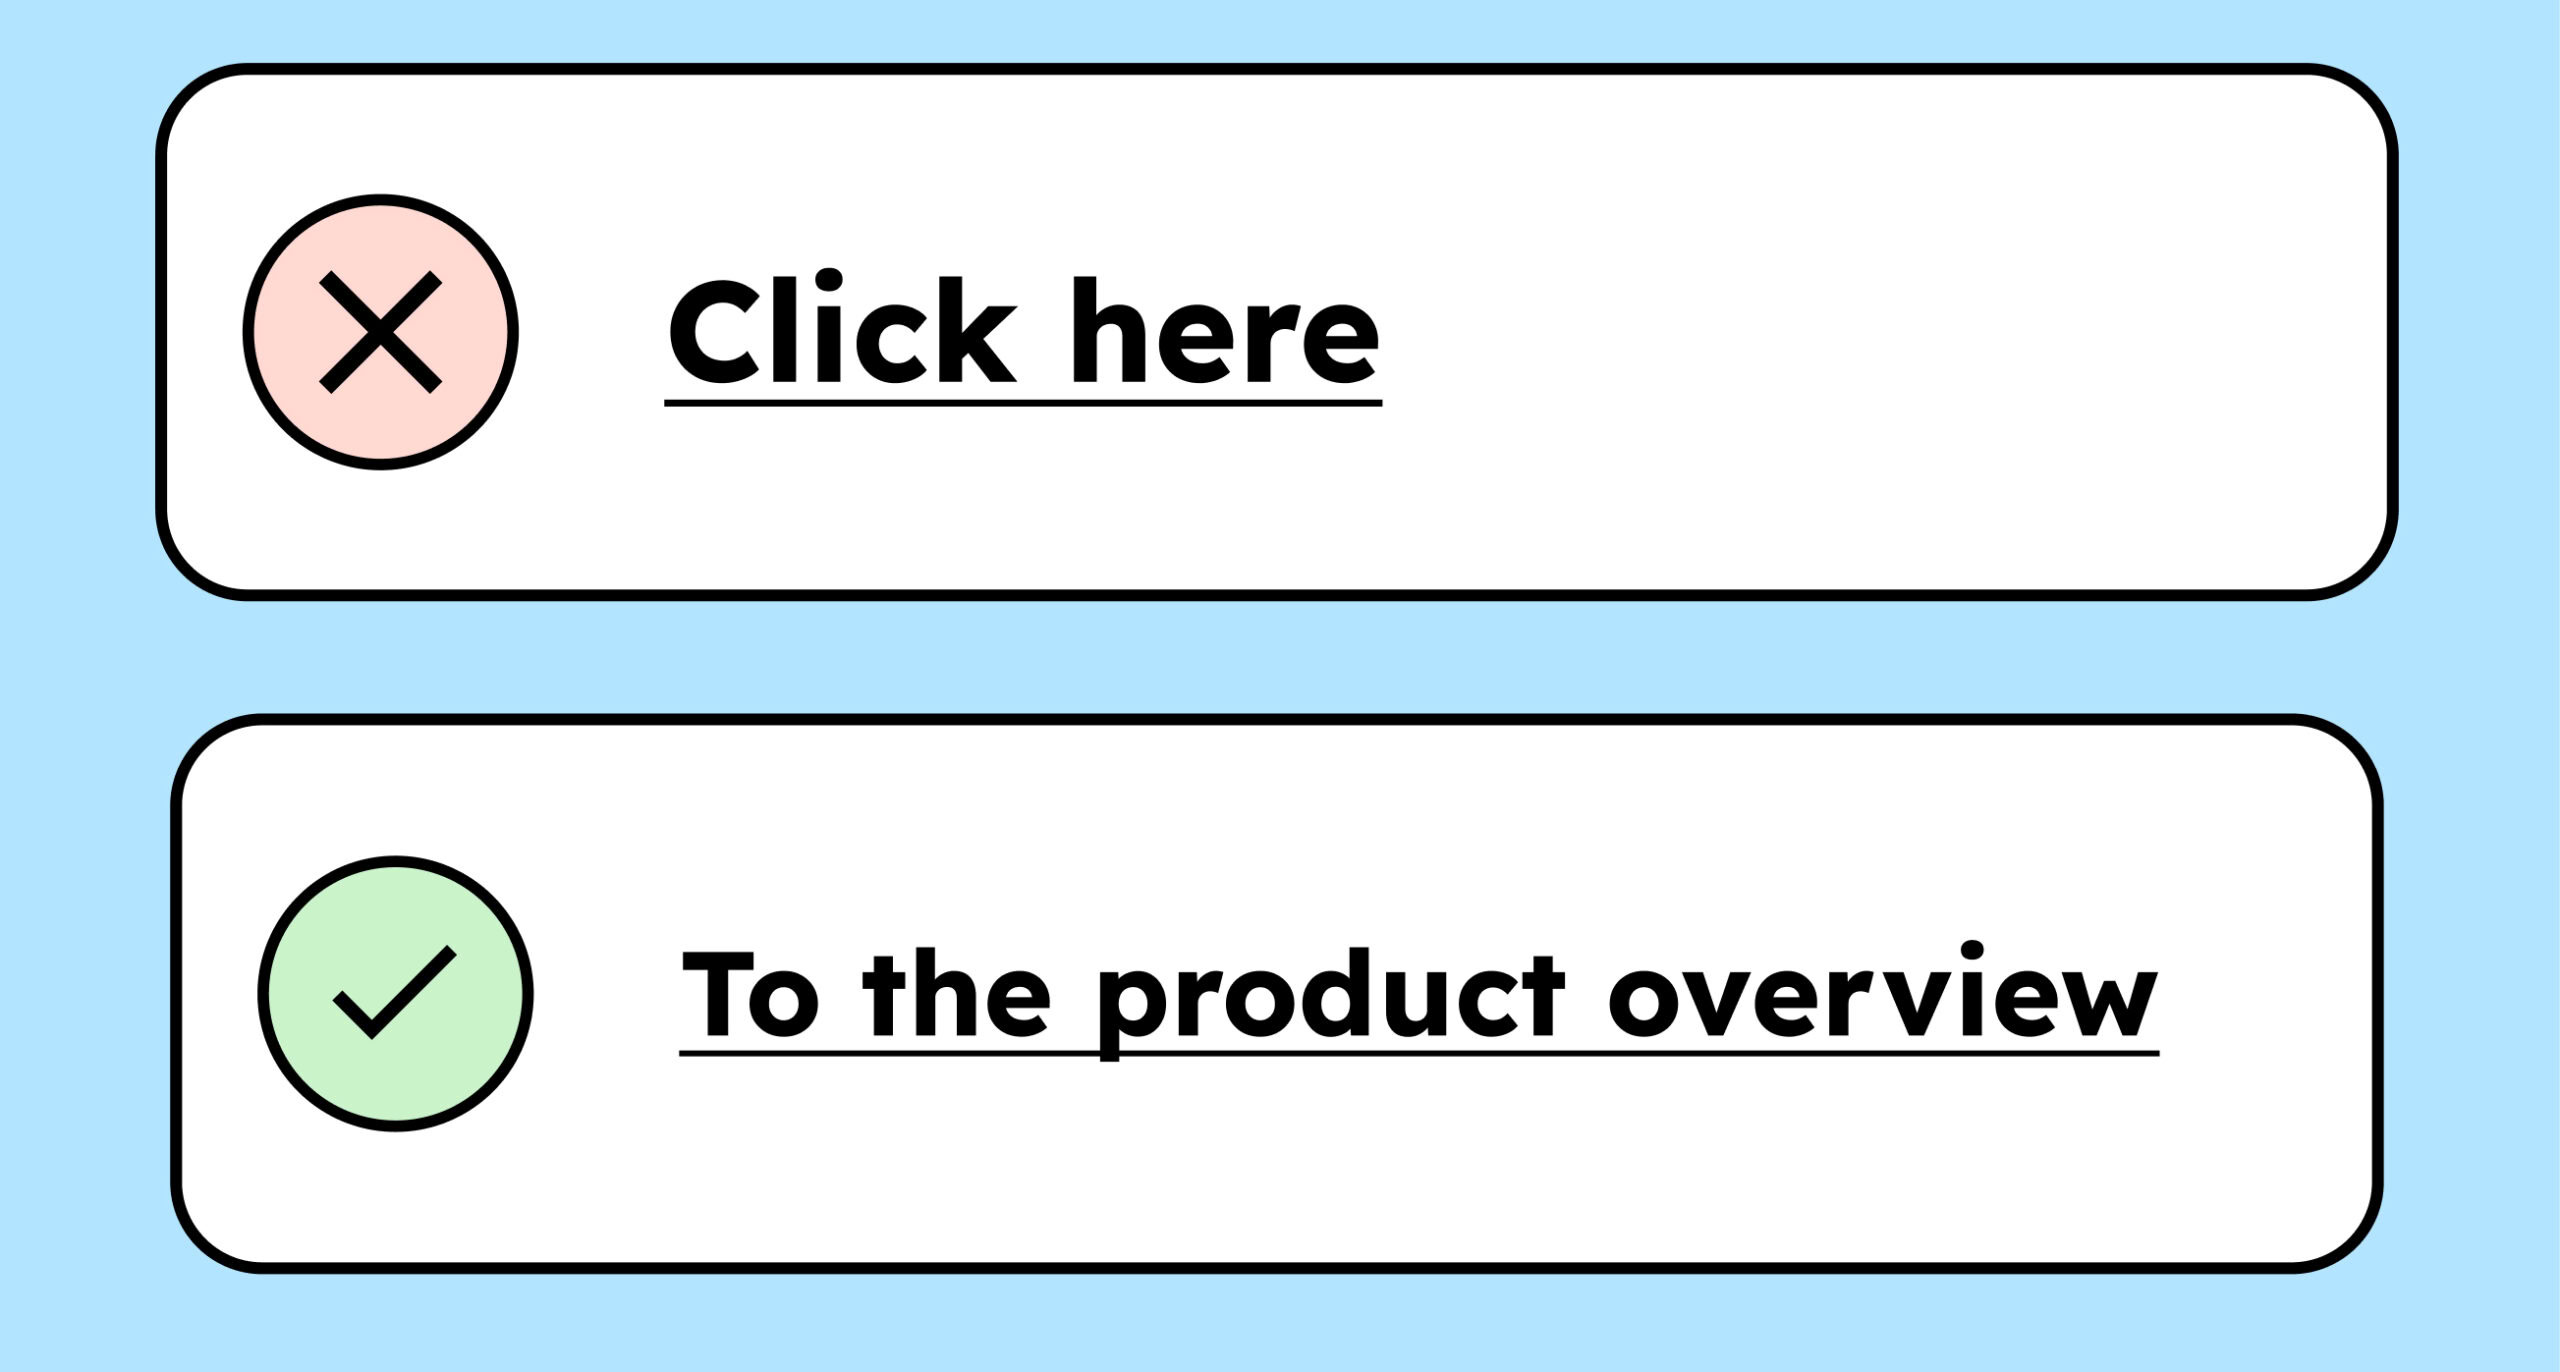
- How to write accessible anchor texts that everyone loves
- Making accessible documents speak with tags
- Plain and Easy Language: What is the difference?
- Accessibility on social media
We also have courses and a workshop for the content creators among you that will help you better understand and implement the requirements:
- Online course: Digital accessibility for social media (available in English)
- Digital accessibility for Content Creators
Testing for Accessibility

Ultimately, it’s necessary to test your website for accessibility. We’ve written the following article for you: Testing for Accessibility – Here’s How!
Conclusion on how to get started with digital accessibility.
Okay, that was perhaps a bit much! Unfortunately, digital accessibility can’t be learned in a day. I’ve given you an easy introduction to the topic. And also provide you with a roadmap to become an expert in the field.
