A screen reader is software that basically reads the data from a website and reproduces it in a form that is understandable to users.
This can happen either through auditory playback – the screen reader reads the content aloud – or through haptic output to a Braille display. This Braille display is a hardware technology that allows blind people to feel text written in Braille.
Who needs a screen reader?
This question is not so easy to answer. The basic idea of a screen reader is to enable people to perceive visually presented content in a non-visual way.
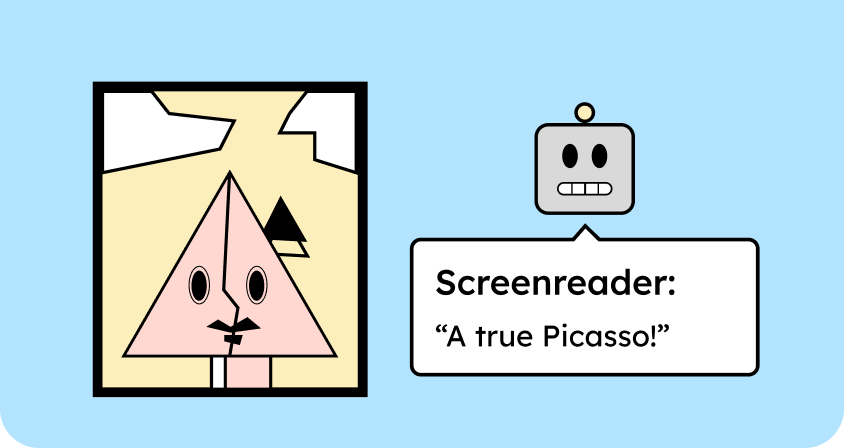
A classic example from WCAG: Images need alternative text. If images (visual elements) on a website have alt text, this can be read aloud by a screen reader. This allows people to perceive the image even if they cannot see it.
A screen reader is therefore primarily intended for blind people or people with severe visual impairments. It’s important to emphasize, however, that you don’t have to be blind to use a screen reader. For example, we’ve already developed websites for people who weren’t blind but who frequently relied on a screen reader because of another visual impairment. One of our clients, for instance, could read long, short texts without any problems, but long texts were often too strenuous for her eyes. In such cases, she used the screen reader for support.
Furthermore, there are assumptions that screen readers are also used by people with reading difficulties to make reading texts easier.
There are no clear figures on who uses a screen reader or how many. However, the actual number is probably much higher than is generally assumed.
How is a screen reader used?
A screen reader is typically controlled via the keyboard or, on mobile devices, with gestures. Users navigate through a website not only with the Tab key, but also with many other commands, for example, from one heading to the next or from a link to a button. The screen reader then reads the selected content aloud.
The output is usually via speech output. Alternatively, the screen reader can also transmit the information to a Braille display. In this way, people who can read Braille can feel the content.
Keyboard navigation
The keyboard is the most important tool for navigating a website with a screen reader. In quick navigation mode, the screen reader behaves similarly to a normal keyboard, with some important differences. The most important keys are:
- Tab key: Navigates to all clickable or operable elements on the website.
- Shift + Tab does the same as Tab, but in reverse.
- Enter key: Triggers elements such as links or buttons.
- Spacebar: Also triggers links or buttons, but also other elements, such as toggles.
- Arrow keys You can use the arrow keys to navigate to elements that are not directly navigable (headings, text, etc.).

In the step-by-step introduction, we’ll show you how to use the quick navigation. These basic functions are perfectly sufficient for getting started with a screen reader.
For people who use screen readers daily, navigating websites sequentially would be too cumbersome. Therefore, screen readers offer many additional features, such as special keyboard shortcuts and the ability to sort elements by content type, making navigation significantly more efficient.
The Rotor feature (available on Apple devices via the VoiceOver screen reader) allows users to selectively access lists of links, headings, and other elements, significantly simplifying website navigation. This requires that the website’s structure is semantically correct.

Semantic HTML: a blessing for screen readers
The biggest problem with a screen reader is that it can only process a website sequentially. You can only jump from one element to the next. This quickly becomes tiring if you want to scan a website to grasp the general content and check its relevance.
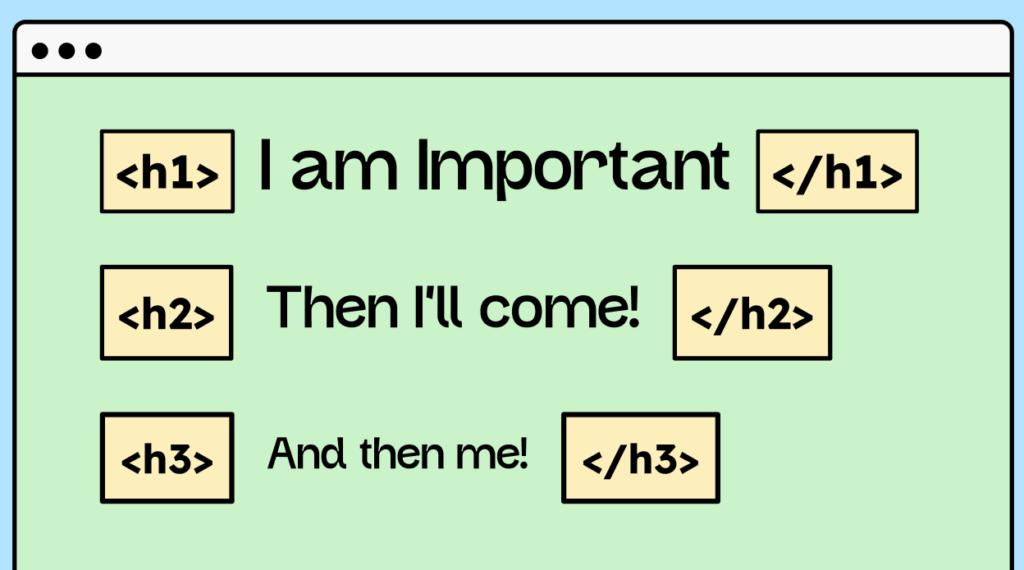
Therefore, a screen reader allows users to jump from one heading to the next using shortcuts or to display a list of headings for an overview. However, these functions only work if the headings are correctly marked up.
This means, for example, that headings must be tagged with an h tag<h1>, i.e., with: <h1><h2>, <h2> <h3>, and so on. Only when these semantic tags are used can headings be accessed via keyboard shortcuts or displayed in a list. Therefore, clean semantics are essential for screen readers.
(Although this isn’t entirely true: With attributes like role="heading" and other markup, you can theoretically turn any HTML tag into a heading. However, this should be avoided – we won’t go into that in more detail here.)
The WCAG criteria for digital accessibility specify certain requirements for a clean HTML structure to make life easier for screen reader users. You can find more information at the following link: Criterion 1.3.1 Info and Relationships
And you can find more about semantic HTML in our guest post by Markus on proper HTML (German).
What screen readers are available?
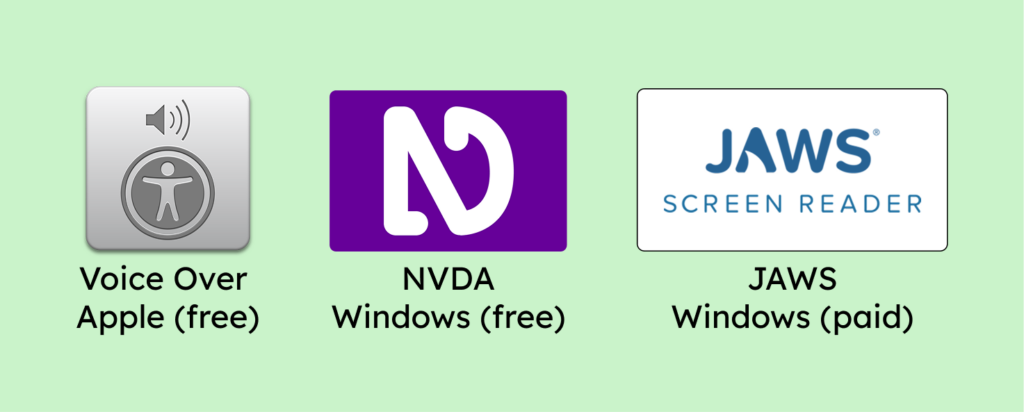
As with almost any software, there are several screen reader providers. The best-known and most popular screen readers for desktops are:
| Name | Operating system | Cost | Availability |
|---|---|---|---|
| NVDA | Windows | For free | NVDA Download Shortcuts NVDA |
| Narrator | Windows | For free | Shortcuts Narrator is already pre-installed |
| JAWS | Windows | Fee applies | Go to the JAWS page |
| VoiceOver | macOS | For free | Pre-installed on Mac. VoiceOver Shortcuts |
The problem with software from different manufacturers is that it produces different results. If you use the NVDA screen reader on Windows, you’ll need to adapt to “TalkBack” on your phone. And NVDA and “TalkBack” label buttons differently, for example. Therefore, you essentially have to get used to two different screen readers.
| Name | Operating system | Cost | Availability |
|---|---|---|---|
| Talkback | Android | For free | Pre-installed |
| VoiceOver | iOS | For free | Pre-installed |
Apple users have an advantage here: The VoiceOver screen reader is pre-installed on all Apple devices. This means that you have the same operation and user experience on your iPhone, iPad, or iMac. Many screen reader users appreciate this consistency, which is why Apple devices are particularly popular among them.
However, not everyone can afford an Apple device. Therefore, the largest user group of screen reader software is still found on Windows systems – although this could gradually change.
Which screen reader works best with which browser?
Different screen readers work better or worse with different browsers. Here is an overview of which ones are best combined (as of March 2025).
| Screen reader | Browser |
|---|---|
| VoiceOver | Safari |
| JAWS | Chrome |
| NVDA | Firefox |
| Narrator | Edge |
| VoiceOver (Mobile) | Safari |
| Google Talkback | Chrome |
How do I test a website for digital accessibility using a screen reader?
First, you should familiarize yourself with the screen reader of your choice.
The providers themselves often offer very good instructions. In this text, I’ll only discuss Apple’s VoiceOver, but I’ll link you to further resources for other screen readers below.
Step-by-step instructions for VoiceOver:
- Enable fast navigation (one-time use only)
- Open your system settings
- Select accessibility options
- Under See, select VoiceOver.
- Click the “Open VoiceOver Utility…” button
- In the utility, select the Commands entry.
- There, you check the boxes for “Quick navigation via arrow keys” and “Quick navigation via single keys”.
- To activate VoiceOver (CMD + F5):
The first time you start VoiceOver, a small window will appear asking you to confirm that the screen reader is activated. - Set focus (select browser window):
Click inside the browser window to set the “focus” to the browser. (Normally, you wouldn’t use a mouse when working with a screen reader. However, this is an easy way to get started.) - Navigate using the Tab key
- Press the Tab key to navigate through interactive elements such as links, buttons, or forms.
- Check if all elements are accessible. Often, there are problems: for example, submenus are inaccessible, or some links and buttons cannot be controlled via the keyboard.
- When you reach an element, the screen reader will read important information aloud, including:
- Name: What the element is (e.g., “Home”, “Send”).
- Role: The function of the element (e.g., “Button”, “Link”).
- State: Whether the element is active, selected, or inactive.
- Navigate using the arrow keys
- While the Tab key only addresses interactive elements, you can use the arrow keys to navigate between text and headings.
- The screen reader reads out running text and headings so that you can perceive the content of the website.
- The screen reader also provides a lot of additional information, known as metadata. I will discuss this in more detail later.
- Use the Enter and Space keys.
- Pressing the Enter key activates elements such as links or buttons.
- The spacebar works similarly, but is also relevant for elements such as toggles or checkboxes.
- Bonus: Use the rotor
- Press Option + Control + U to open the rotor.
- The rotor shows you various lists of content, such as headings, form elements, or links.
- Using the rotor is a bit more advanced. If you’d like to learn more, I recommend this video.
These steps will help you begin testing a website with VoiceOver. Remember that it takes time and practice to become truly comfortable with a screen reader.
Pro tip: You might not be able to navigate the website using the arrow keys while your screen reader is enabled. This is because “Fast navigation with arrow keys” is not enabled. You can find this setting on your Mac under:
System Preferences → Accessibility → VoiceOver → Open VoiceOver Utility → Control (or on newer Macs: Commands) → “Quick Navigation” → Enable “Quick Navigation with Arrow Keys”
Further instructions on using screen readers:
Everything You Need to Know About Accessibility in Development
- Understanding Legal Requirements and Standards
- Everything You Need to Know About Assistive Technologies, ARIA, and Front-End Accessibility
- Automated Testing of Accessibility During and After the Development Process
From E.On to Raidboxes to FRITZ!Box, developers work with us to implement accessibility.

Why does the screen reader give me so much information?
If you’ve just used a screen reader for the first time, you might have been a little confused. The screen reader reads out quite a lot of information, which can seem overwhelming at first. However, this information is extremely important and helpful if you can’t see a website. For a user to understand what they can do with an element, they need the following information:
- Name
- Role
- Condition/Value
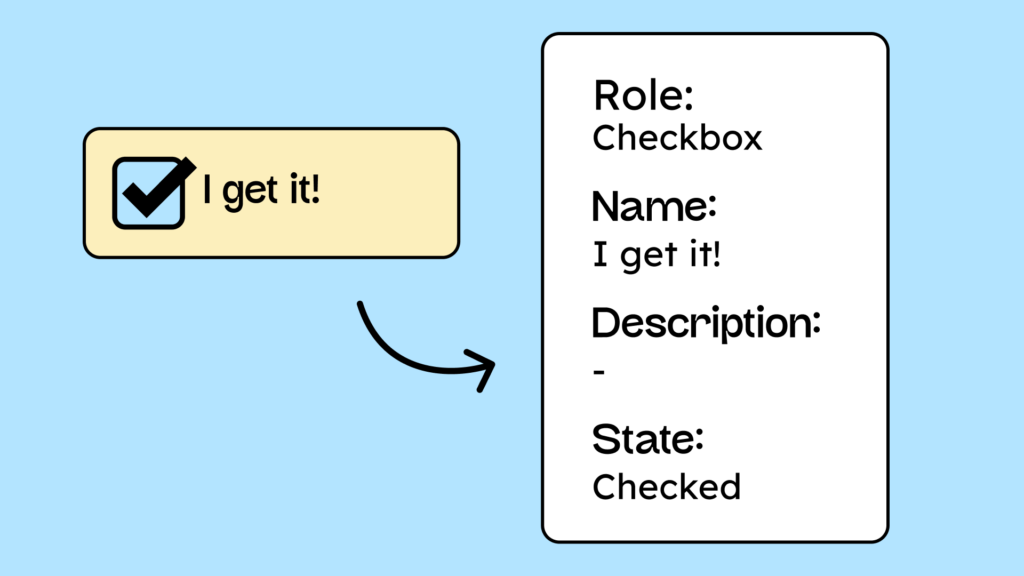
Example checkbox:
- Name: Check I
- Role: Checkbox
- Status: Checked (selected)
1. The name
First, all interactive elements need an accessible name.
Imagine you have a hamburger menu icon on a website. This icon is usually an embedded image that functions as a button. For a screen reader user to understand what this button is for, it needs a name. The name could be, for example, “Menu.” When the user interacts with the icon, the screen reader reads “Menu” aloud, making the function clear.
2. The role
The role describes the function of an element. It indicates whether it is, for example, a button, link, heading, checkbox, x, or another element type.
Blind people cannot see which element they are on, so the screen reader must convey this information.
3. The condition/value
Interactive elements on a website often have a state or value.
- For example, a checkbox can be selected or unselected.
- A button that opens a dropdown menu can expand or collapse the selection
These states are essential for informing screen reader users that something has happened. For example, if a button is pressed to open a dropdown menu, the screen reader must clearly indicate that the menu has opened.
Why is this important?
These three pieces of information – name, role, and state/value – are crucial for screen reader users to understand and interact with a website. That’s why there’s a WCAG criterion that requires all interactive elements to provide these values correctly. If you want to delve deeper into this topic, I recommend our article on the Accessibility Tree.
Conclusion on the screen reader
A screen reader is one of the most essential tools for regularly testing your website for accessibility. While it’s not strictly necessary to always test with a screen reader, it greatly simplifies the testing process and saves you time and effort.
Furthermore, errors that are easily overlooked during manual testing can be quickly detected with a screen reader – for example, whether the accessible name of an icon is missing or a control element cannot be accessed.
If you’d like to learn more about how people use a screen reader, we’ve recorded a video with blind Nina Schweppe: How do blind people experience a website?
Finally, if you’d like to see a really cute video about what a screen reader does and why it’s important to use landmarks, headings, and other accessibility features, I highly recommend the BingO Bakery video from Microsoft!
