
Credit where credit is due: This article and the process itself were heavily influenced by the UK government’s directives. You can find the original UK government article here.
To test the accessibility of your website, releases, or new features, you should always follow these 3 steps:
- Validate your HTML
- Run automated tests
- Manual testing
- Testing with assistive technology
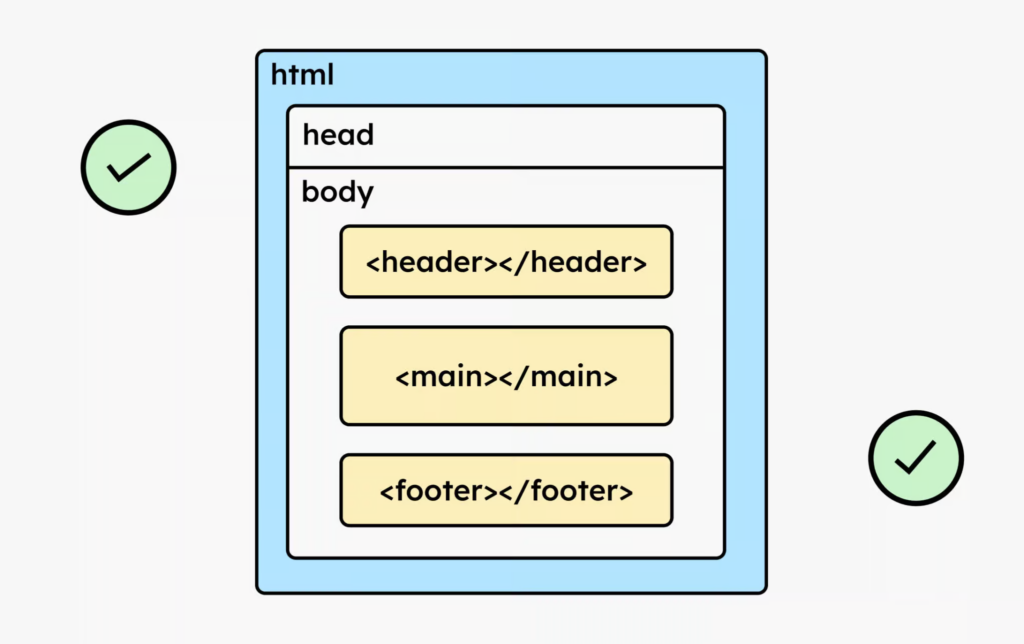
Step 1: Validate your HTML
To be as efficient as possible, you should perform the four steps in the given order. WCAG criterion “4.1.1 Parsing” states that your HTML code must be clean. This criterion has been obsolete since WCAG 2.2. Nevertheless, the law still refers to version 2.1.
Whether you still want to adhere to version 2.1 is up to you. The law actually states that one should adhere to the latest state of the art. Therefore, we assume WCAG 2.2.
So, if you still want to meet the “4.1.1 Parsing” criterion (or simply want clean code), you should start with the HTML check. This will quickly help you find HTML issues, including incorrect ARIA-Roles (German) and other structural issues, that you need to fix in the code.
HTML checks during development
During development, you can run HTML checks either locally or integrate them directly into your test setup. For this, we recommend the NPM package HTML Validator: [Link to HTML Validator for Node]
HTML checks of live websites
If your website is already online, you can test it directly with the W3C Markup Validation Service. [Link to W3C Markup Validation Service]
If you created your website with a CMS like WordPress and its page builder, you might encounter some HTML parsing errors that you unfortunately can’t fix. For example, you might get a duplicate ID error. Luckily, this isn’t too serious (since parsing errors from WCAG 2.2 have been fixed). Nevertheless, it’s important to ensure clean HTML whenever possible!
Step 2: Run automated tests
Once your HTML is clean, the next step should be to run your automated tests.
Automated testing isn’t a solution for all digital accessibility problems, but good tools can find approximately 40% of known errors. They offer a quick way to identify obvious issues before embarking on time-consuming manual testing.
The good news is: testing for digital accessibility doesn’t introduce any new principles. If software quality is important to you, you probably already have a pipeline in place. You can simply integrate the following tools into it.
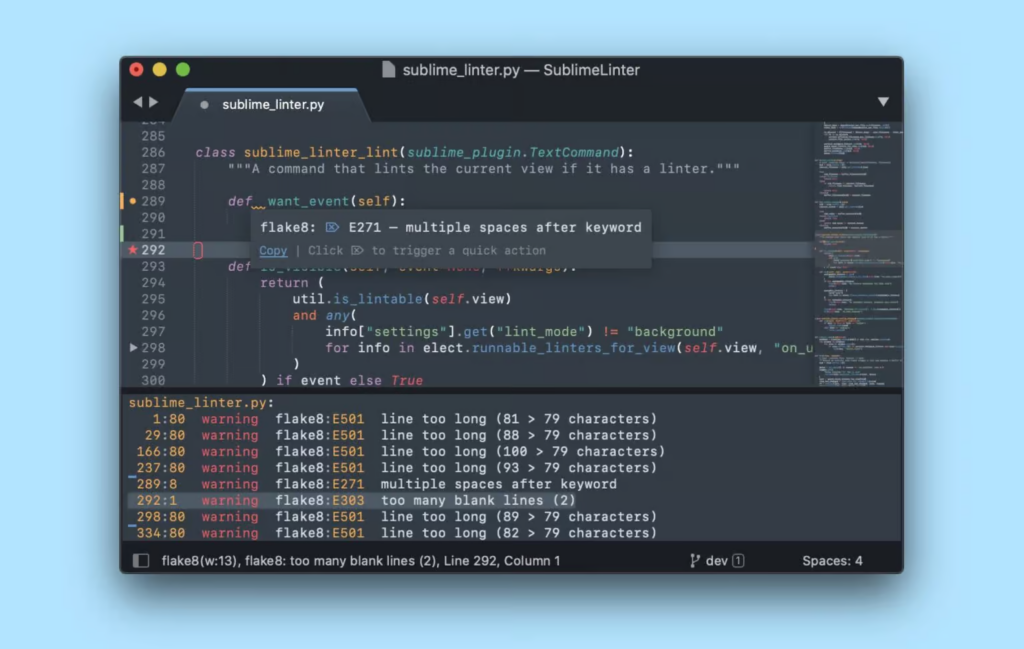
Static code analysis
Accessibility linters help you find problems right from the code commit stage, problems that are easily overlooked in the daily development process. You can integrate the linters directly into the Git hooks of your codebase or into your continuous integration solution, and run them before every commit or push.
Here you’ll find common linters for different frameworks:
If the linter ran without issues, your unit or E2E tests should run next.
Integration and E2E testing
Using Axe-Core and Selenium, or PA11Y, you can write your own tests and integrate them into your codebase. These tests should be part of your CI pipeline and run automatically when you push your code.
Instructions on how to best set up the tests can be found here: automated test setup with Axe-Core and PA11Y.
Semi-automated testing with browser plug-ins
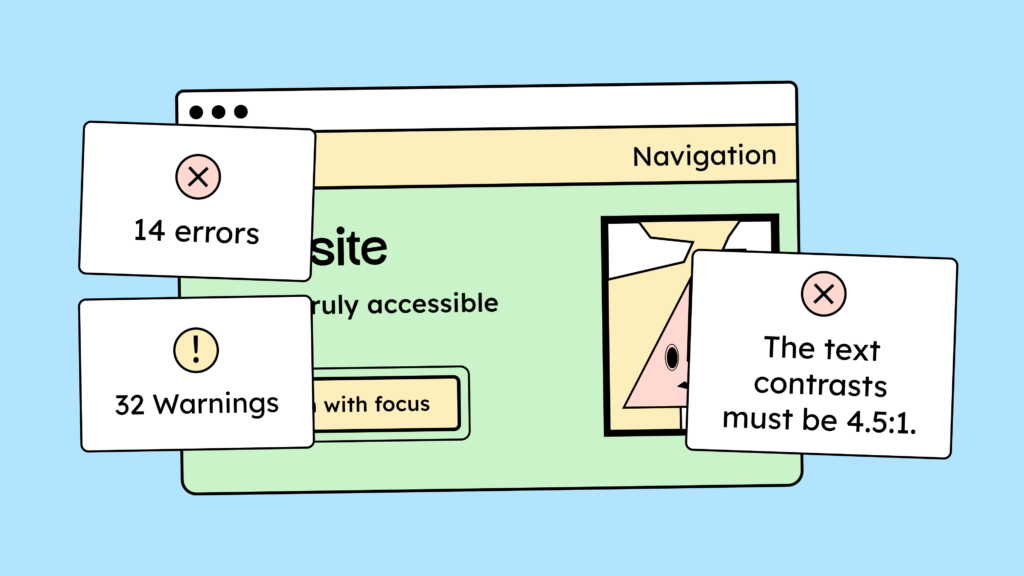
There are various browser plugins available to check the accessibility of your live website. Each plugin finds slightly different errors, so we use three! But don’t worry, it sounds more complicated than it is. The tools are quite fast, and the checks only take a few seconds.
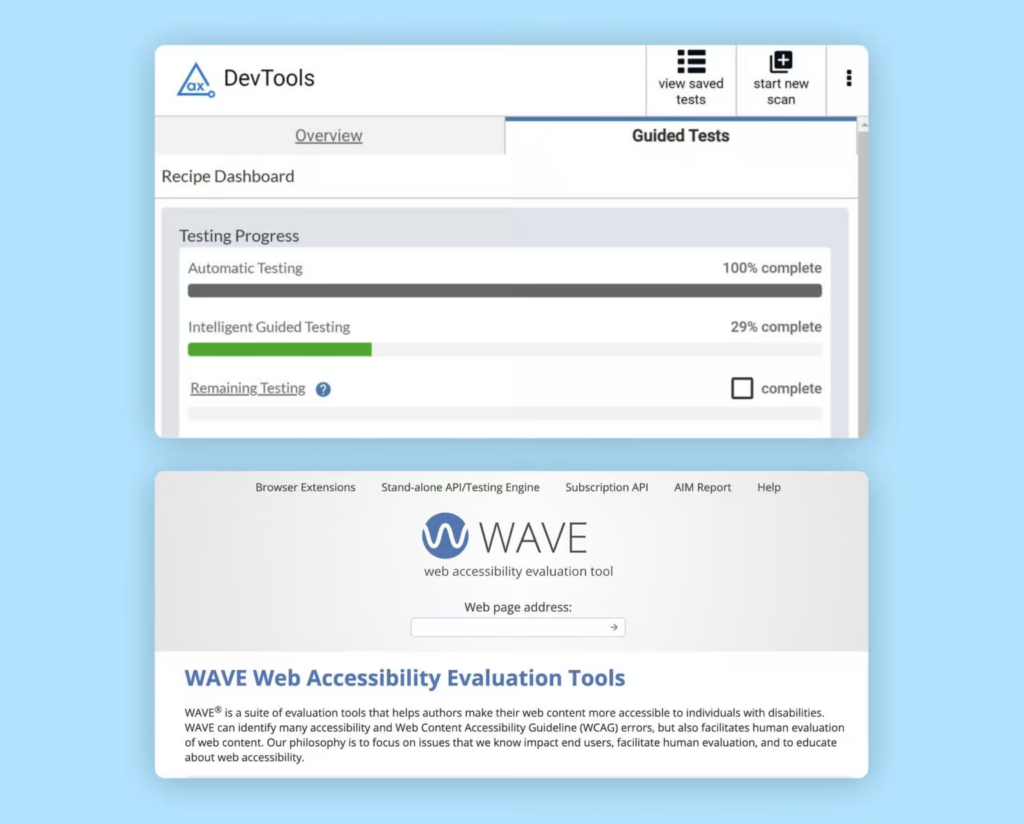
We recommend the following browser plug-ins to test your website:
- Regarding the Chrome extension for Arc-Toolkit
- To the Chrome extension of Ax-DevTools
- Wave’s browser extensions
Using these three tools, you can identify approximately 40% of common digital accessibility errors.
One more small word of caution: Not all automated testing tools support checks in the Shadow DOM. You can find more information in this blog post by Manuel Matuzović: [link to the article on automated testing and Shadow DOMs].
Step 3: Perform manual tests
Once you are sure that your HTML is clean and that your automated and browser tests are error-free, comes the somewhat more strenuous part: manual testing.
The Accessibility Insights Assessment Tool is a free tool for manually testing your website directly in the browser. With this Chrome extension, you can test each page step by step and document your results. The drawback is that you then have to export your results and consolidate them in a single location accessible to everyone on the team. Furthermore, multiple people cannot test together because intermediate results are only saved locally (in your browser).
With the BITV-Test tool, you can test your website for your own purposes free of charge. [Link to the BITV manual testing tool (German)]
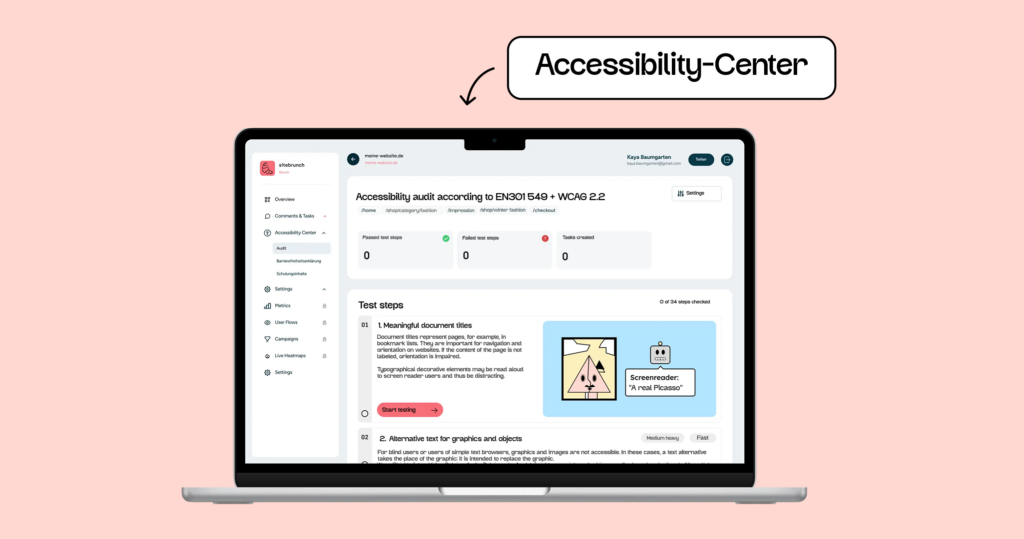
If you’re looking for more structure, support, and a more team-friendly setup, we’ve developed our Accessibility Center for you. With our Accessibility Center, you can:
- Our explanations and videos make it easy to understand what you need to test and how to do it.
- Test it directly on the live page and save yourself the trouble of taking screenshots.
- Use pre-made problem descriptions and solution suggestions to save yourself a lot of time.
- Testing together as a team.
- Directly generate a shareable test report.
- Export the audit report as tickets for common systems, such as Jira.
- and much more!
Step 4: Testing with assistive technologies
Many people with disabilities use assistive technologies to access websites. According to WCAG, your website is only compliant if it is accessible with assistive technologies. Therefore, it’s crucial that you ultimately test your website with assistive technologies. (Ideally, it would be tested directly by people who use assistive technologies daily.)
Three common types of assistive technology are:
- The screen reader
- The voice controls
- The screen magnifier
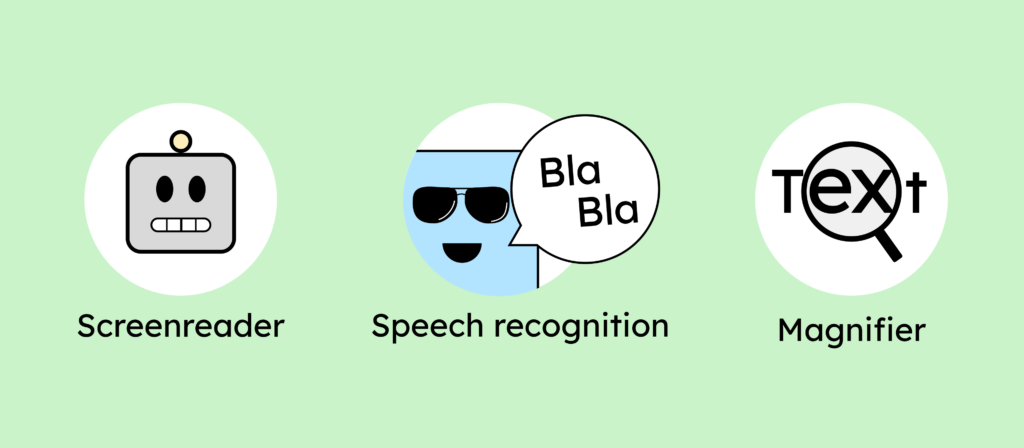
There are various screen readers, speech recognition, and magnification software options. While it would be beneficial, you don’t need to test your website with every screen reader. You should, however, test your website with at least one software program from each of the three main categories.
The screen reader
There are different screen readers available. VoiceOver is from Apple and is automatically pre-installed on your Mac. To start (and stop) it, simply press Command (CMD) + F5. The screen readers NVDA and JAWS are only available for Windows.
You should use the screen reader to test whether:
- … you can use every control.
- …every heading is marked as a heading.
- … you can access any link.
- … every landmark can be accessed (e.g., navigation and footer).
- … you can fill out the input fields (e.g., a contact form).
The voice controls
“Voice Control” is macOS’s voice control feature. Voice control works by having you speak commands, which the system then executes. On Windows, this feature is called “Voice Access.”
You should use voice control to test whether you:
- You can control every function.
- You can activate any link, button, or control (e.g., form controls or a media player).
- You can enter all texts into forms.
There is a pre-made test template that you can use to systematize your voice control tests: the voice control test template.
Screen magnifiers
Finally, there are screen zoom apps that specifically help people with visual impairments to use your website. On your Mac, you can find macOS Zoom in your System Preferences under “Accessibility”.
For testing purposes, set the screen magnifiers to at least four times magnification.
Then you should check if:
- Texts and images are still legible and not too pixelated.
- The elements on the page are displayed consistently across different page layouts. (The search field should still be in a similar or the same position when the layout changes.)
- Elements overlap other elements (for example: sticky navigation overlays text).
There is a pre-made test template you can use to systematize your screen magnifier tests: [Link to screen magnifier test template]
Was that really all?
Ultimately, you must, of course, meet the respective requirements of EN 301 549 to be legally accessible.
To get started, we recommend you review our overview of the WCAG 2.2 criteria to understand what needs to be made accessible and how to implement it.
To test, you can define your own test steps, review the BIK-BITV test (German) steps, or use our tool or online course for testing (German). There, we explain each test step-by-step to help you test for digital accessibility!
